
 |
| Check out these cute tapes at delight.com. Just imagine the possibilities! |
Showing posts with label DIY. Show all posts
Showing posts with label DIY. Show all posts
Wednesday, April 29


Sunday, April 19
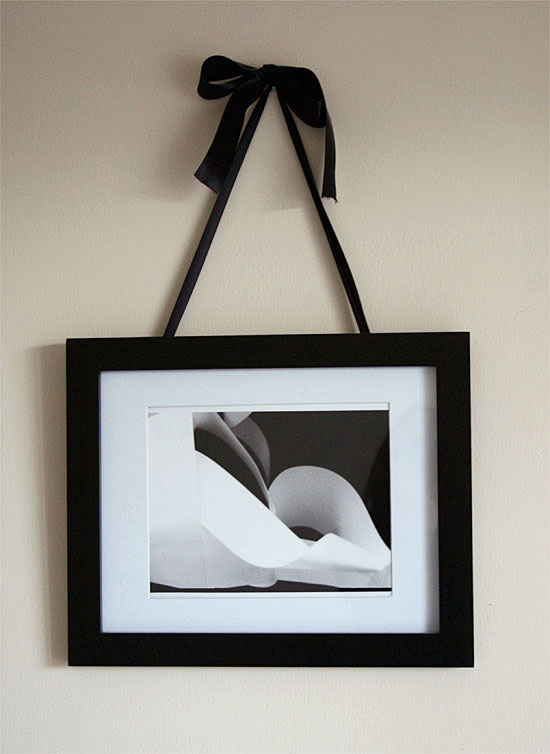
DIY: Ribbon Frame
 | |
|
Ribbon Frame
any color ribbon
frame with hinges on the back
scissors
nail, hammer
1 Turn the frame over, back facing up. Pull one end of the ribbon through the first hinge, and then through the second, making a horizontal line across the back.
2 Turn frame over and pull the ribbon end up to desired length, leaving room for a bow (don't cut the ribbon yet)
3 Tie a bow with the other ribbon end (still attached to spool)
4 Diagonally cut second ribbon at desired length after bow is tied
5 Securely place your photograph into your frame and hang!
You might need to adjust the bow after it is hung so the nail will not show.
Friday, April 10
DIY: Before & After (without the before)
 |
|

Long before I started this blog, I had bought this mirror from salvation army. I just love that place, along with goodwill and other local thrift stores or flea markets. Eddie Ross is an expert on thrift stores and flea markets so be sure to check out his awesome finds.
On my weekly rounds of thrift stores I find this starburst mirror which is exactly what I was looking for to fill that empty space on top of my tv, in between my ladder bookshelves. It was originally a faded gold/bronze color and had a lot of scuffs on it, but I knew it had potential. And for $5, who could resist a little experimentation? I headed to Home Depot and bought a can of black matte spray paint. I didn't want it to be glossy because it would cheapen it (the key is to buy cheap, not to look cheap) so I chose a matte black instead. I made sure to do several smooth coats to get every surface. After a few hours it was dry and was ready for hanging. What are some of your most proud "before and afters"?
Saturday, April 4
Pillow talk
 |
Today I am writing my first blog post ever! So, to celebrate I am talking about one of the first pieces I designed when I moved into my apartment. I live by myself, (but not for long! more on that later..) so I wanted to make my space special and my own. I had the basics: navy leather couch, small flat screen TV, and the most comfortable bed in the whole wide world. Since I bought a dark navy couch, I wanted pillows that really popped. So, I headed to this fabric warehouse that I had heard about from a friend. It was HUGE! I could have spent all day there just looking at all the beautiful fabrics. I went in with a mission: I wanted two contrasting fabrics on each side of the pillows. One side with a yellow pattern (to pop off the blue) and the other side....? I didn't know. My missions aren't that planned out anyways.
 |
Subscribe to:
Posts (Atom)


