 |
When I moved into my apartment, my walls were bare. And well, its been over a year...and most are still bare! I'm slow. Verrry slow. I don't think I could ever decorate and furnish my home in one week flat like some people can. I like to take my time and find unique things as I go. This ribbon frame in my bedroom is the first DIY project I did, even before the pillows. My bedroom is black and white so I decided to add some some drama to the wall above my bed. I chose two of my favorite photographs I did from my summer semester in Italy (sigh...how I miss thee!) and hung them side by side. I found black frames with white matting and black ribbon from wal-mart. For this DIY project, any color goes! Don't be afraid to use any pops of color for your walls.
|
|
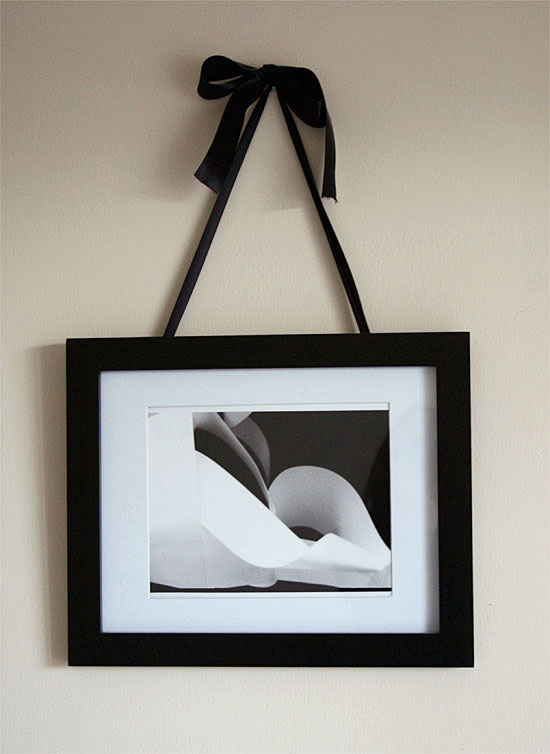
Ribbon Frame
any color ribbon
frame with hinges on the back
scissors
nail, hammer
1 Turn the frame over, back facing up. Pull one end of the ribbon through the first hinge, and then through the second, making a horizontal line across the back.
2 Turn frame over and pull the ribbon end up to desired length, leaving room for a bow (don't cut the ribbon yet)
3 Tie a bow with the other ribbon end (still attached to spool)
4 Diagonally cut second ribbon at desired length after bow is tied
5 Securely place your photograph into your frame and hang!
You might need to adjust the bow after it is hung so the nail will not show.


4 comments:
I love ribbon frames!
Me too :)
This is so pretty! Thanks for stopping by Travelingmama, too!
Ooh... such a good idea! It looks so much nicer with a touch of ribbon.
Post a Comment